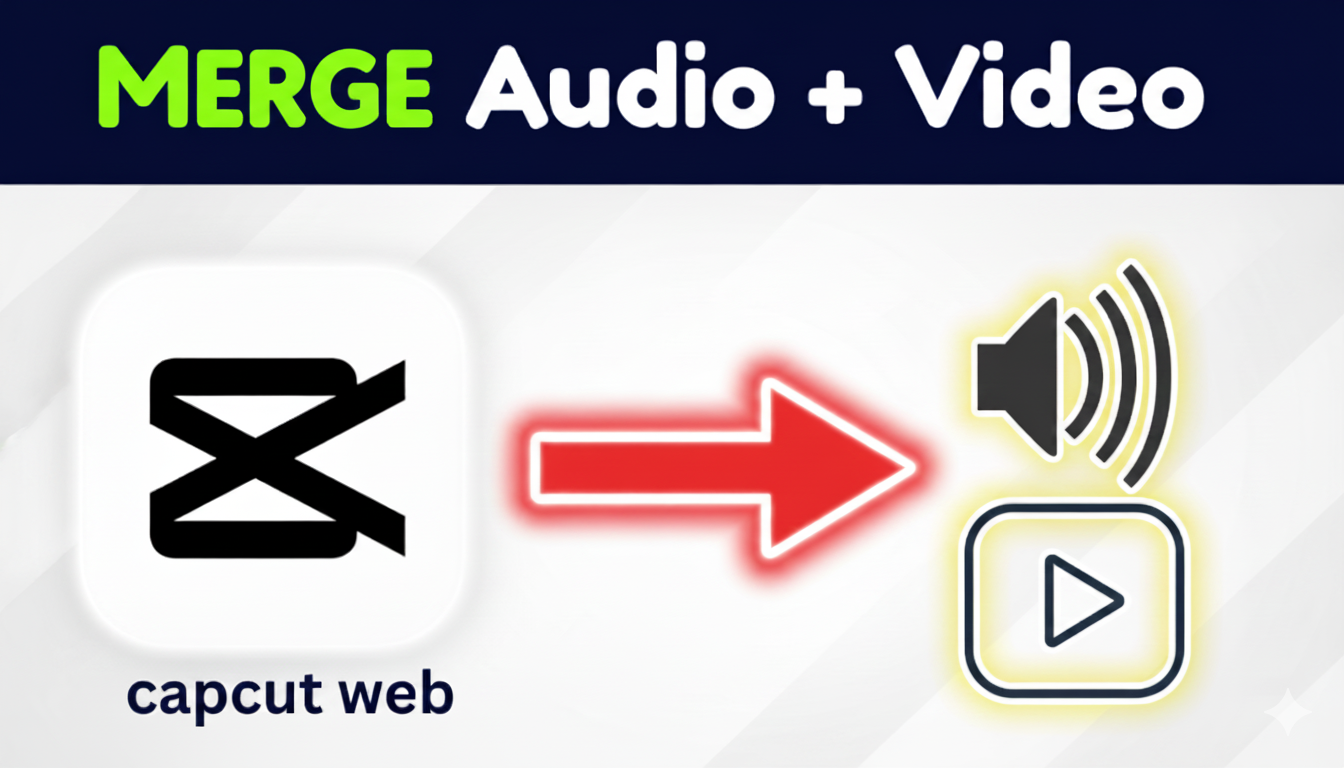
Can’t find the merge/group option in CapCut Web? Use this quick “Download Selected Clip” trick to combine audio and video into one file—step-by-step.
Introduction
You are editing in CapCut Web and can’t find a merge or group button for your audio and video? Well, we can understand your frustration. And the thing is, you’re not missing it, CapCut Web doesn’t offer that option yet on it s web version. The good news is there’s a quick workaround using the download selected clip trick.

Quick Steps
Add the video and audio to the timeline and sync.
Select both clips → Right-click → Download Clip → Download Selected Clip.
Choose the best quality → download.
Re-upload the new file → replace the two originals with this single merged clip.
If you prefer a video version of it, you can watch the embedded video above, and if you prefer a text version, continue reading. So, this is the step-by-step workaround:
1. Sync Your Sound & Video
Move your audio and video to the timeline.
Zoom in on the waveform and match major beats or speech peaks for perfect sync.
Tip: play a 5–10s section to check it’s in sync before you continue.
2. Select Both Clips
Hold Shift and click the video + audio so both are selected, or you can simply select with your mouse.
2. Click on “Download Selected Clip”
Right-click → Download Clip → Download Selected Clip.(Tip: This works best on the latest version of CapCut Web).
Select Highest Quality in the conversation.
This saves the highlighted section as a single merged file only.
3. Re-Import & Replace
Upload the newly downloaded clip again into CapCut.
Drag it onto the timeline and replace your original separate audio + video.
Before they aligned by chance when you put them.
Bonus: Can be changed later? You can always keep a copy of the original two footage (audio and video) as a muted one while editing on your timeline.
When to Use This vs Full Export
- This method is best for short sections, quick fixes, and saving time.
- Full export makes sense only when the entire timeline is ready to lock. If exporting the entire section makes sense, you can do that as well. The workaround here is exporting both audio and footage with a perfect sync condition and re-uploading on the editing menu to make these two walks as a combined clip.
Common Troubleshooting
I don’t see “Download Selected Clip?
Make sure both the audio and video are selected when you right-click on your mouse.
Audio and video are out of sync, Or Audio is slightly out of sync after re-import.
First, make sure you have adjusted audio and video perfectly to match the exact footage and audio. Check your project frame rate. If your source is 30 fps, set the project to 30 fps before downloading and re-importing.
The merged file looks low-quality
Always pick the Highest Quality in the exporting setting. Avoid scaling your preview window during export/download.
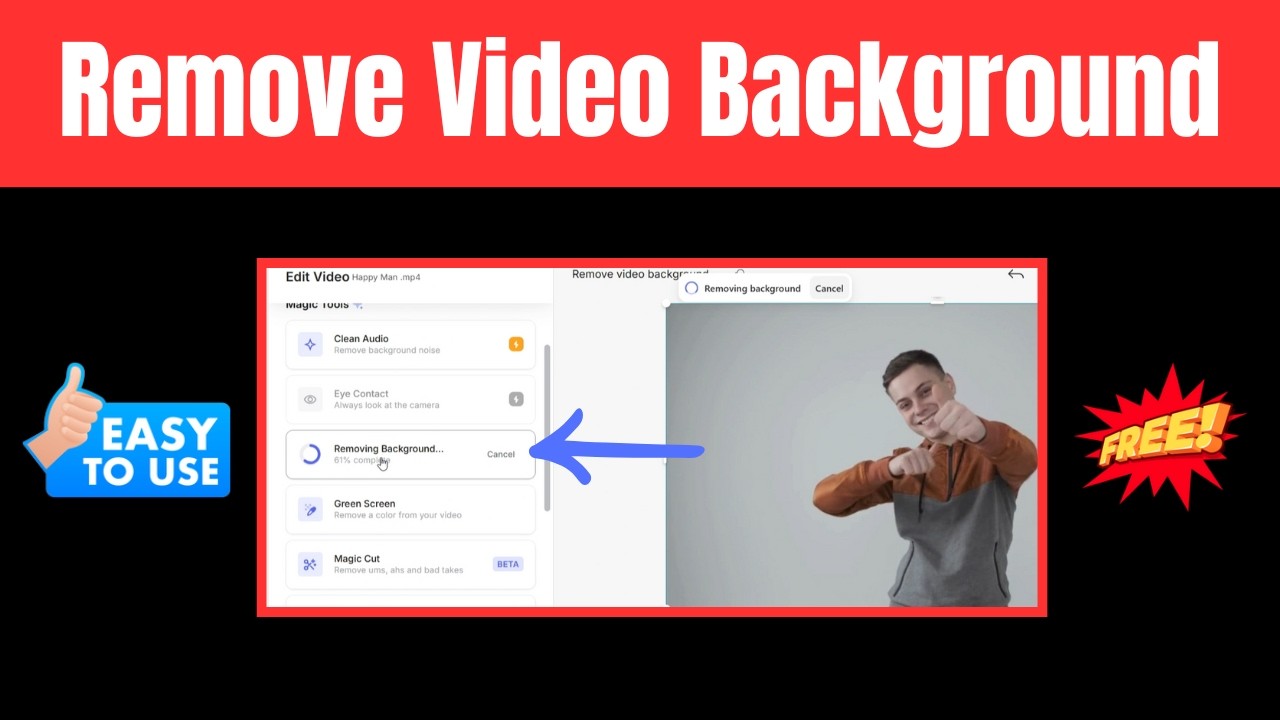
And that’s it! Even though CapCut Web doesn’t offer a merge button, this trick works like magic. To be honest! CapCut isn’t just another — it’s packed with AI features that save you hours. Auto-sync your captions, remove backgrounds with one click, and use smart templates to speed up editing. If you haven’t tried it yet, get CapCut free here.